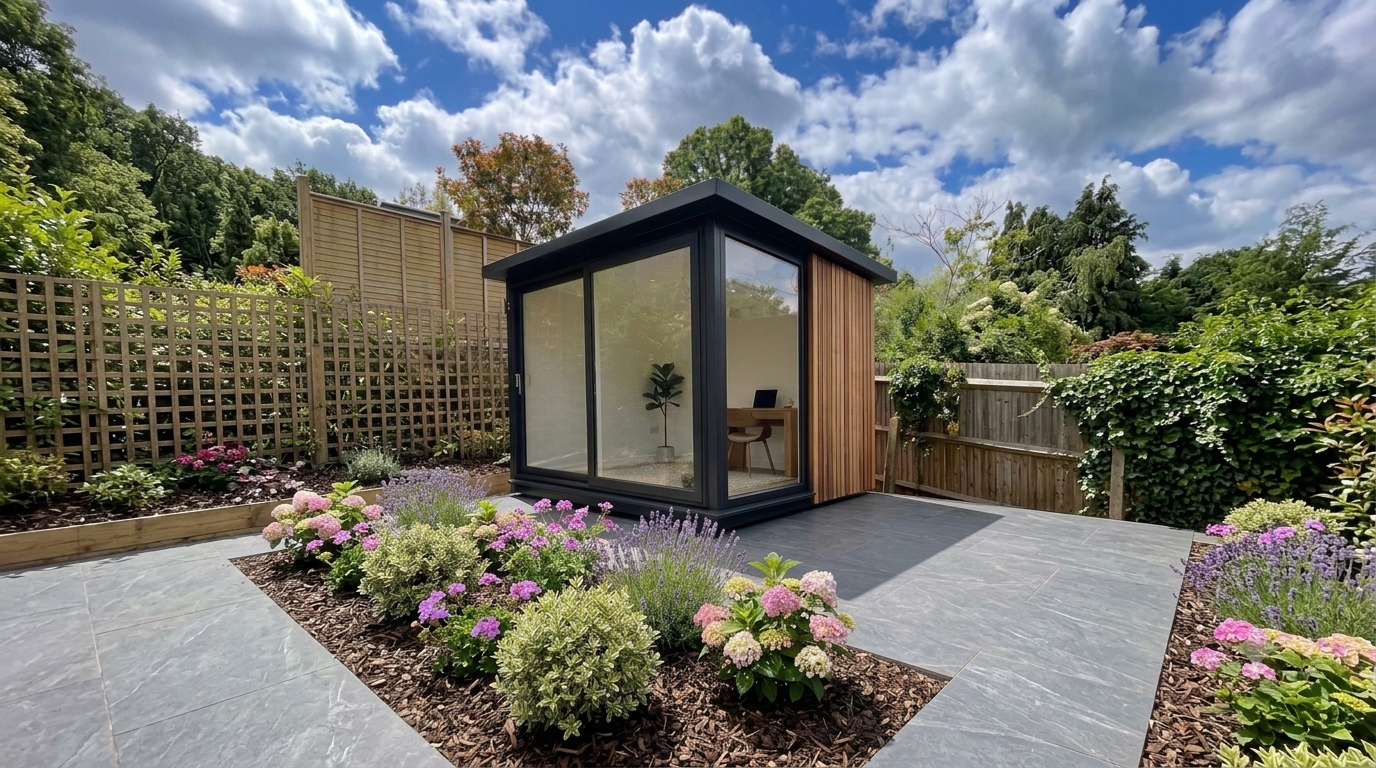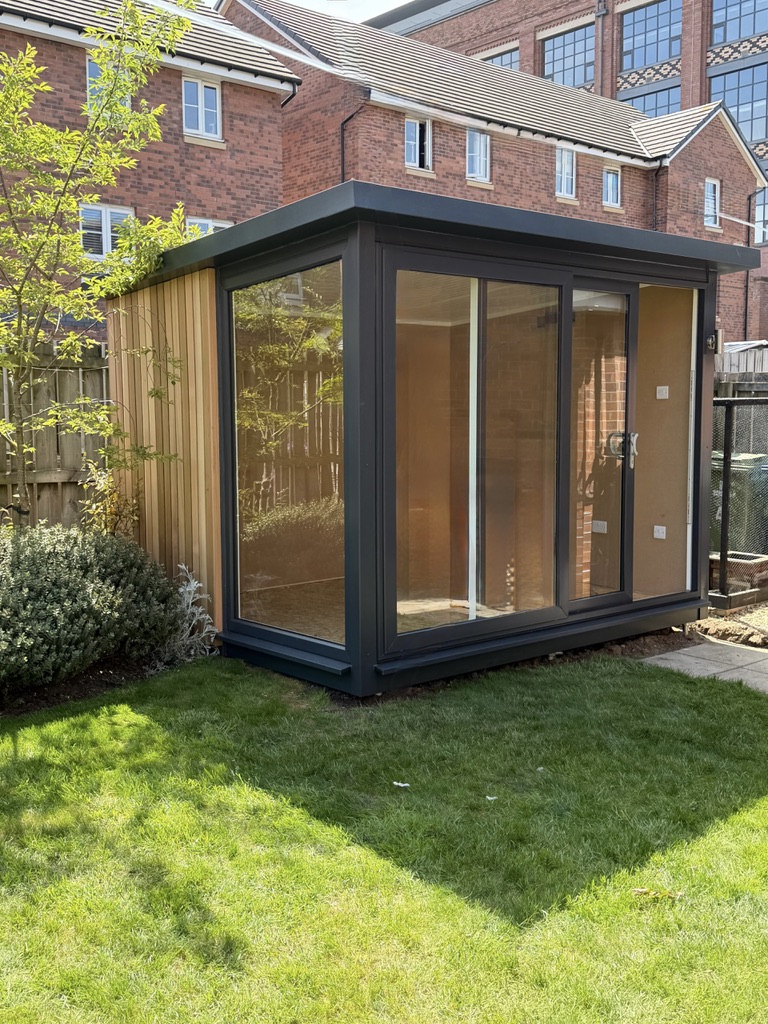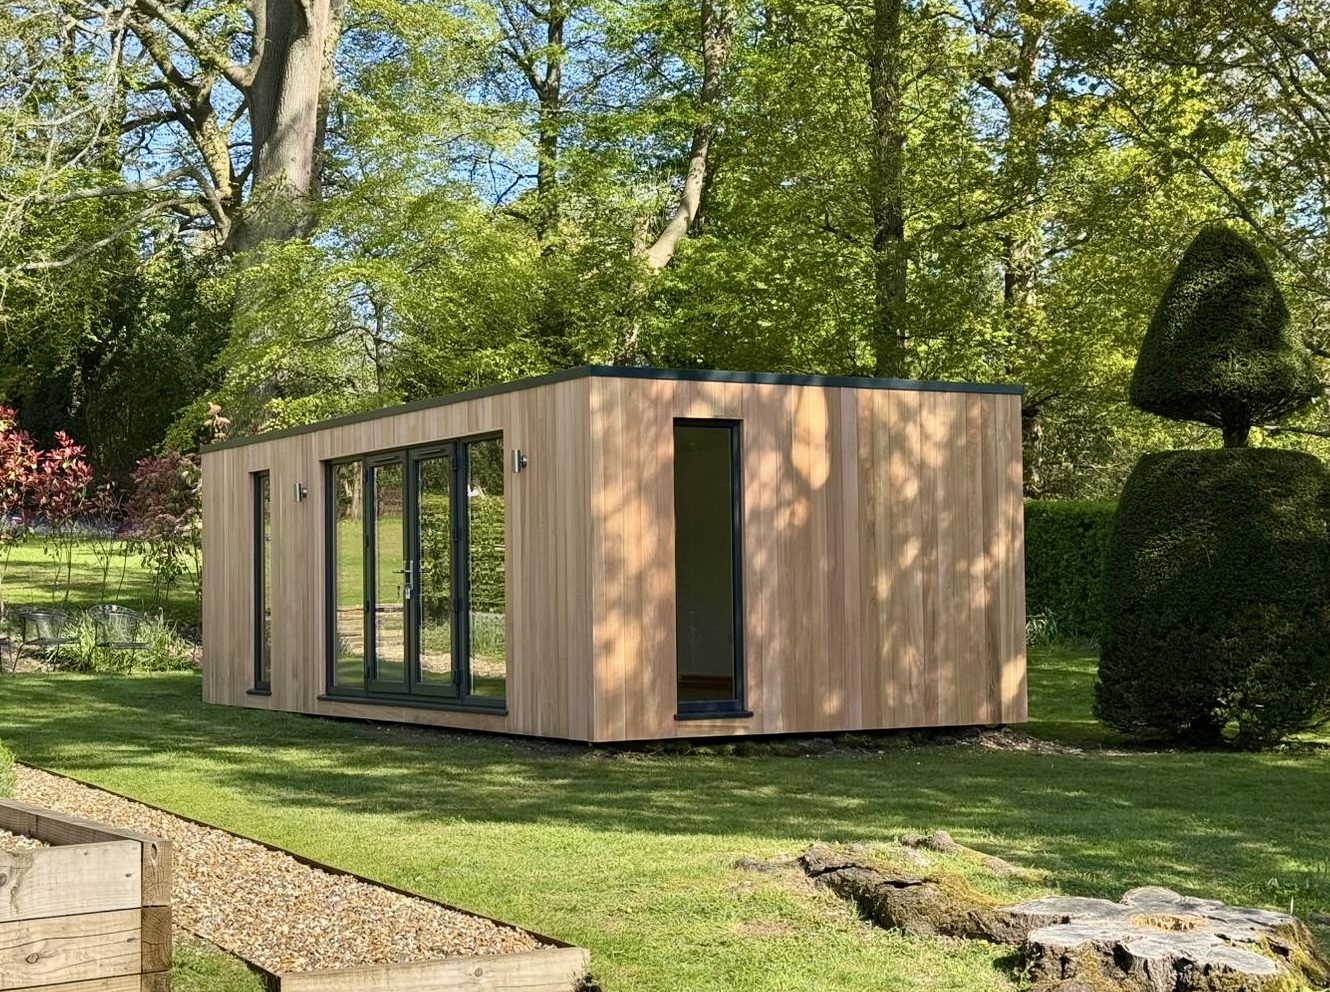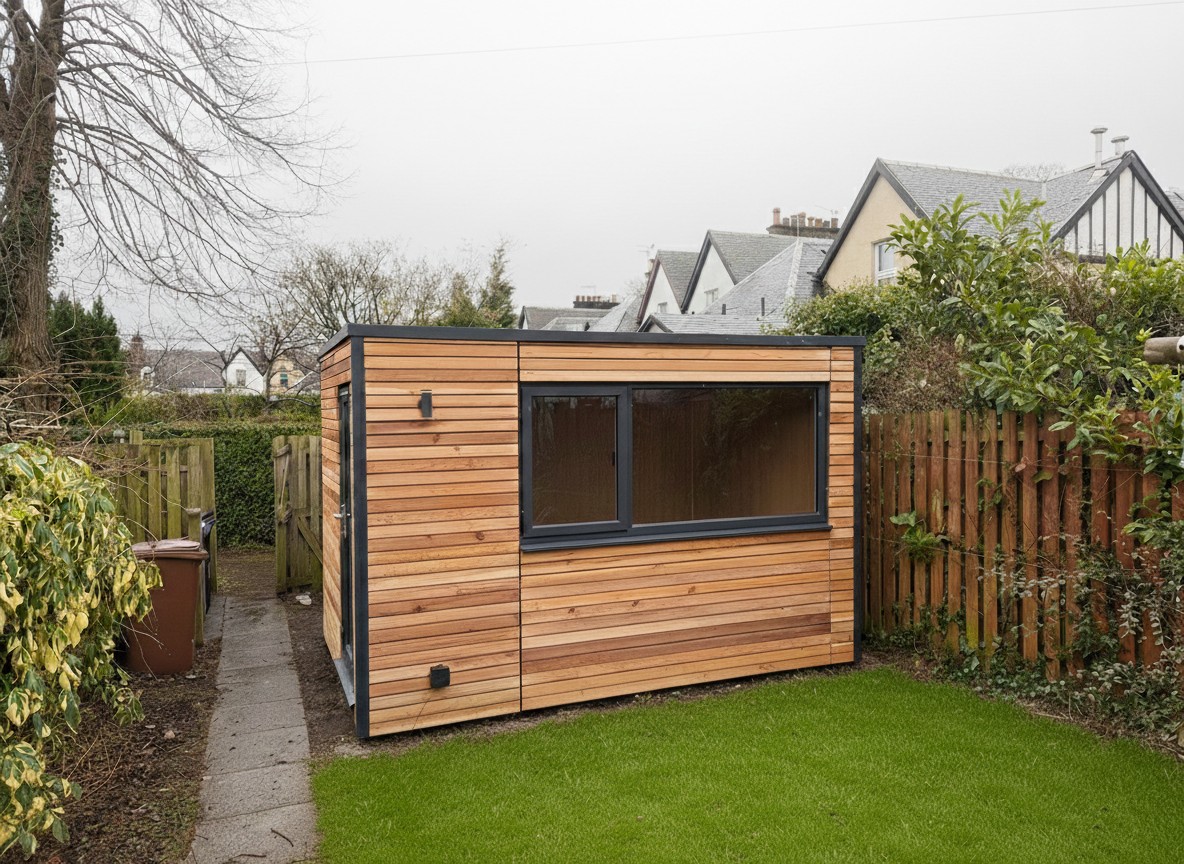
Building a garden room is an exciting project, but it’s success hinges on plot preparation and accurate measurements.
Getting it right ensures your building fits beautifully and complies with planning regulations (therefore avoiding a big headache!).
Here is your step-by-step guide to measuring up your outdoor space like a pro.
Phase 1: Preparation & Tools
Before you head outside, gather your gear. Having the right tools avoids the frustration of trying to hold a floppy tape measure in the wind.
What you’ll need:
- A long heavy-duty tape measure (the longer the better)
- Pegs/stakes and string (or standard builder’s line).
- A notebook and pen (or a tablet/phone to sketch).
- A spirit level (the longer the better).
Phase 1: Preparation & Tools
- Step 1: Create a Rough Sketch. Don’t worry about drawing to scale just yet. Draw a bird’s-eye view of your entire garden, noting where your house sits, existing boundaries (fences, walls), trees, and major obstacles (like manhole covers).
- Step 2: Mark Out the Footprint. Go to the exact spot where you want the garden room to live. Drive pegs into the ground to represent the four corners of your intended building. Tie string tightly between the pegs to create a physical outline of the room’s footprint. Make sure to allow for any roof overhang you’ve chosen (20cm on our standard Overhang Model), and for the guttering at the rear (15cm).
- Step 3: Measure the Length and Width. Measure the distance between your pegs to get your baseline dimensions. Measure the external depth (front to back). Measure the external width (side to side).
-
Pro-Tip: Check for Square. To ensure your layout is a perfect rectangle and not a wonky parallelogram, measure diagonally from corner to corner (X-shape). If the two diagonal measurements are identical, your corners are perfectly square.
Phase 2: Step-by-Step Measuring
- Step 4: If your Garden Room is over 15m2 internally- Check the “Boundary Buffers” You need to leave a 1m gap between the back/sides of the room and any fences. We do have some alternative fire rated claddings that are compliant if the 1m isn’t possible to achieve.
- Step 5: Check the Ground Levels. Place your spirit level on a straight piece of timber stretched across your string lines. Look for any significant lumps or slope across the plot. Our foundation system means that we can accommodate a sloping site, and we don’t require a costly and messy concrete slab to be built in advance. If there is an existing concrete base we can work with that too.
- Step 6: Look Up. Look directly above your plotted area. Are there overhanging tree branches? Are there low-hanging power lines or telephone wires? Note: Remember to factor in the growth of young trees over the next few years.
Phase 3: Access and Practicalities
Something else to check carefully is the access and logistics for how we actually get the materials for your Garden Room into the garden.
Do you have parking available for at least one, but often two large Transit sized vans?
Is the best access via your back gate? Is it a straight path from the parking area to the site for your Garden Room? If there are any tight turns then we may ask you to carry a length of wood or similar down the access route to check that the modular panels used to construct your Room will fit.
Height Clearances: Check for low arches, porch roofs, or outdoor boiler pipes that might block access.
Internal House Route: If you don’t have side access, the materials might have to go through your house. Measure your doors and hallway turns, and send us a short video via email or WhatsApp to let our experienced Technical Team check for any potential problems.
Ready to make the leap?
Once you’ve followed our guide you will have a good idea of the size studio you can have and any potential issues.
Our studios generally take 1-2 days to install as opposed to an extension that takes weeks to complete.
For any advice and a no pressure quote, we’re happy to help.
Sanctum Garden Studios
01257 279161